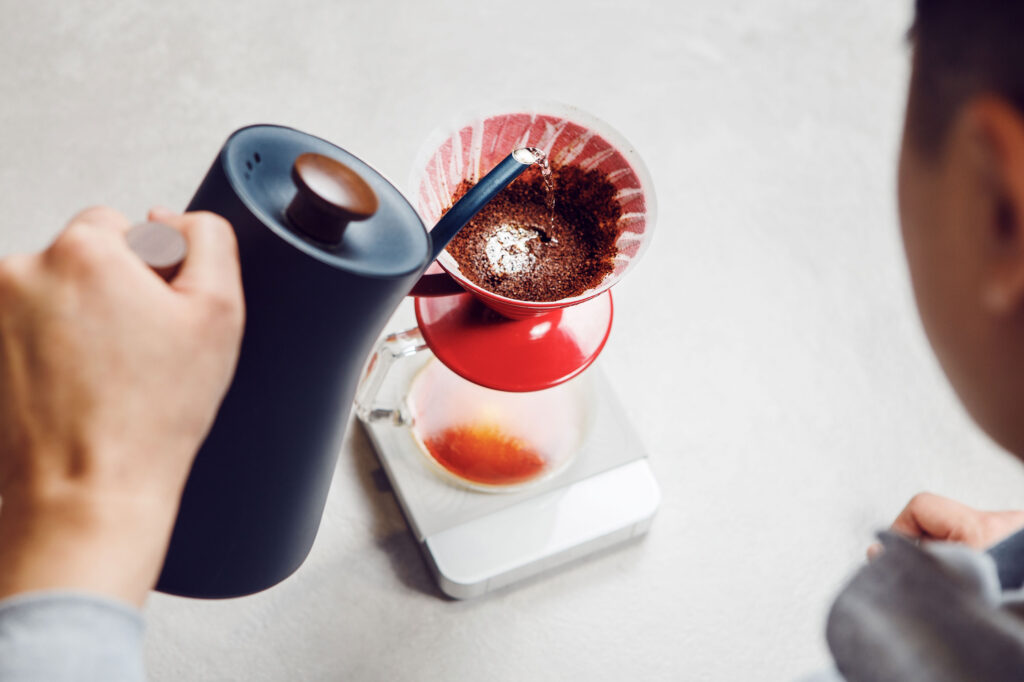
What is pour-over coffee? It’s pretty straightforward—you simply hand-pour water over coffee grounds in a filter, which extracts the flavors as it passes through the coffee grounds into a mug, carafe or container of your choosing. It’s a great option for coffee lovers who want to branch out and take more control over the brewing process. It’s a precise, manual process, so you get to learn a few new techniques, too!
You can use any coffee beans you like, but what is pour-over coffee especially suited for? This method is known for bringing out distinctive flavors and aromas, so if you like single-origin coffees or other unique coffees, you should try using them for pour-over coffee.
Sippable Fact
Pour-over vs drip coffee—ever wondered what the difference is? Both methods involve pouring hot water through coffee grounds in a filter. However, while drip coffee is made by an automatic machine, you make pour-over coffee by hand-pouring the water, which usually takes more time than an automatic drip machine.
While the methods are similar for pour-over vs drip coffee, they do have different advantages. Pour-over coffee can be more flavorful and is customizable, as you can fine-tune the entire brewing process to your taste. However, this method may only make one cup of coffee at a time, depending on the brewer, and it requires learning and using new techniques. Drip coffee is simple and convenient, and you can make a larger batch at one time with many drip coffee makers. But it doesn’t accentuate the flavors as much, and you have less control over the process overall.
Here’s how to make pour-over coffee so that you get the best freshness and flavor—with tweaks that can help you find your perfect cup.
Equipment
To make pour-over coffee, you will need:
- Pour-over coffee brewer
- Filters
- Kettle or other hot water source
- Thermometer (unless one is built into kettle)
- Scale
- Grinder (optional, but preferred)
Pour-over coffee brewers
There are several different types of pour-over coffee brewers, or the device that holds the coffee filter and grounds. Filters are very important here! Pour-over coffee brewers are defined by the shape and function of their filters, which determine the pace of the brewing process. Ultimately, this can contribute to how your coffee will taste (along with other factors like the variety, origin, and roast of your coffee beans).
Flat-bottom brewer
This type of brewer has a flat bottom with three small holes, creating a slower and more even flow rate than other brewers and therefore making it easier to achieve a consistent brew. If you’re new to pour-over coffee brewing, this is a good brewer to try.
Coffee cone/Conical brewer
This brewer is cone shaped, with walls at a 60° angle, which creates a faster and more continuous flow rate. It requires some skill to pour evenly and ensure a consistent brew, making it a good choice if you’re more experienced with pour-over coffee and want to experiment.
Coffee cone/Conical brewer designed with a carafe
This brewer also has a cone shape, but it has a built-in carafe and a larger opening. However, it also uses a thicker filter, so the flow rate is slower than other conical brewers. It requires care and precision in pouring, so it’s probably a better fit if you’re more experienced—and especially if you want to brew larger batches of coffee.
As you’re looking into pour-over coffee brewers, here are a few other key factors to keep in mind—and questions to ask yourself.
- Cost: What’s your price range for your brewer? Consider additional costs as well, such as any accessories you might want to buy, coffee filters that will need to be replenished, etc.
- Size: What will fit in the space you have?
- Capacity: How many cups of coffee do you need to make at one time?
- Design: Pour-over brewers are commonly sought after for their look and feel. What fits your aesthetic and the style of your kitchen?
- Customer reviews and ratings: There’s nothing like hearing from others who have used a coffee maker—what are they saying about your top choices?
Filters
If you’ve used drip coffee makers before, many of the same cone and flat bottom filters are also used with pour-over brewers. As with any brewing method, you’ll need to check the instructions for your coffee brewer to see exactly what types of filters and materials your brewer can support. For pour-over coffee, the most common filter materials are paper, metal, and cloth—and each has its merits.
Paper filters
Generally, paper filters absorb more of the oils in coffee, which can contribute to a cleaner, lighter taste. If you want to experiment with paper filters, you can try out different thicknesses, materials, and densities (how closely the fibers are knitted together) to see what works best with your preferred coffee and flavors. While many paper filters are disposable, there are also more environmentally friendly options like compostable and biodegradable paper filters available.
One of the biggest debates in the coffee-loving world is whether to use bleached or unbleached paper filters. Bleached paper filters are whitened, like most paper we use, while unbleached filters are not, requiring less processing. Unbleached paper filters are therefore considered by many to be slightly better for the environment—but they can create an unpleasant, papery taste. (Some bleached paper filters may leave a similar taste, to be fair). It’s an easy fix, however: just rinse any paper filter before brewing.
Metal filters
Metal filters are often made of a stainless steel mesh. They allow more oil and sediments to flow into the brewed coffee, which can result in a more intense taste and texture in your cup. While metal filters cost more as an initial purchase, they save you the cost of restocking your paper filters over time—and create environmental benefits as a reusable option. Metal filters do need to be cleaned thoroughly to remove any lingering residual flavors or oils that can negatively impact the taste of future brews.
Cloth filters
Cloth filters tend to fall somewhere in the middle of these three options, absorbing more oils and sediments than a metal filter but less than paper filters. They often create a smoother taste. Cloth filters also are reusable, which offers similar benefits to your budget and the environment, but they do need to be cleaned carefully. Rinse and dry cloth filters thoroughly; you can use mild detergent to wash if preferred. Every six to eight weeks, boil the filters in fresh water for 10 minutes.
No matter what type of filter you use, be sure it’s the right size for your pour-over brewer. If the filter bunches up, it can prevent the water from flowing evenly and cause channeling, where coffee grounds get trapped on the sides of the filter.
A kettle and thermometer
You can use standard electric or stove-top kettles to make pour-over coffee, but if they have shorter spouts, your water likely will pour faster, making it harder for you to control. Kettles designed for making pour-over coffee have a long, thin “gooseneck” that helps control the flow of water—and helps preserve the water temperature, too. If you’re using a kettle that does not have a built-in thermometer, plan to have one on hand. The SCA Standard 102-2024 Coffee Value Assessment: Sample Preparation and Tasting Mechanics suggests that the optimal water temperature before pouring over coffee grounds is 93 ± 3°C.
You also can boil water on the stove or in the microwave, but it’s harder to control the temperature, which can affect the quality of the coffee. If you are brewing coffee manually, let the water come to a full boil then immediately turn off the heat source to avoid overboiling. Allow the boiled water rest for a minute to bring it down to the optimal temperature before pouring it over the coffee grounds.
Scales
When we said brewing pour-over coffee requires precision, that includes accurately measuring your coffee and water in grams (rather than the tablespoons/ounces more commonly used with drip coffee). Again, with pour-over coffee, you have more control! Using a digital scale will help you make a more consistent brew—and keep track of what worked well (or not) for you so you can keep adjusting and experimenting.
Grinders
While you can buy and use ground coffee, buying whole coffee beans and grinding them immediately before brewing guarantees maximum freshness.
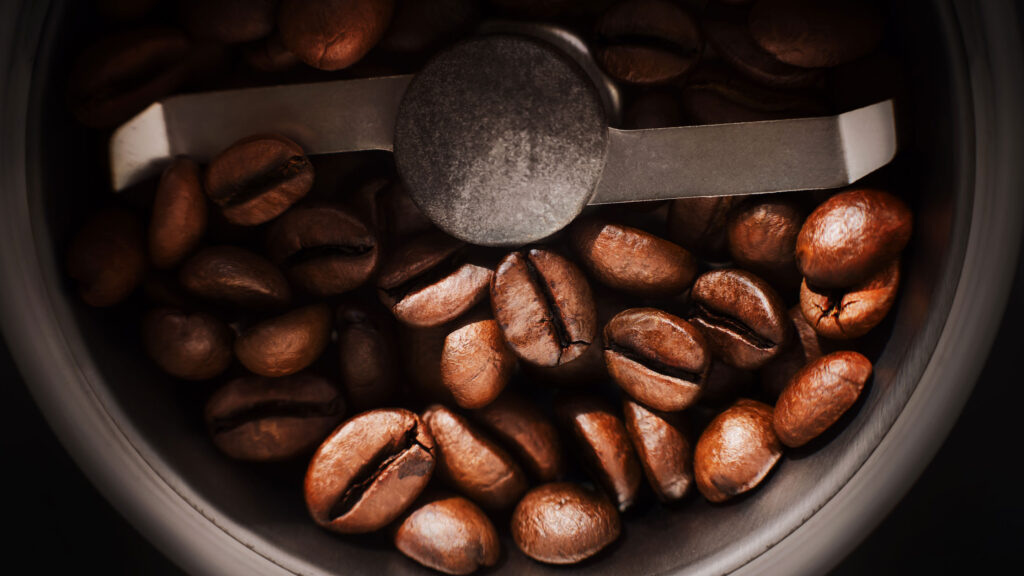
There are two types of grinders: burr (or mill) grinders and blade grinders. We recommend using a burr grinder—whether at home or where you buy your coffee beans.
Burr grinders
A burr grinder crushes coffee beans between a moving grinding wheel and a non-moving surface (the two “burrs” in the name). These grinders do a better job of creating a consistent grind, extracting the flavor of the coffee more evenly, and they’re better for the types of coffee that require smaller grind sizes, like espresso or French press. They’re also less likely to overheat the grounds, preserving the coffee’s oils and aromas.
Blade grinders
A blade grinder is less refined than a burr grinder, with a metal blade that spins to grind the beans. It functions a lot like a food processor, so how long you run the grinder determines how coarse or fine the grind is, though it’s not always easy to control. You can’t ensure a consistent grind, which impacts taste. However, you can get to know your grinder over time and determine the right length of grinding time for your preferred cup of coffee.
Whichever grinder you choose, always follow the manufacturer’s recommendations while using it, and be mindful of any necessary safety considerations.
How to grind coffee beans
The size of your coffee grind makes a significant impact on the taste of your coffee. Knowing how to grind coffee beans starts with your brewing method. If you’re having your coffee ground where you buy it, just decide in advance how you plan to brew it.
As a general rule, the longer the coffee is in contact with water during the brewing process, the coarser the grind should be. That’s why espresso, which brews in seconds, requires a fine coffee grind, while cold brew, which can take hours to prepare, typically requires a coarse grind.
Pick your best grind for pour-over coffee
To find the best grind for pour-over coffee, start with a medium grind, then adjust as needed to brew your perfect cup.
| Brewing Method | Size of Coffee Grind |
|---|---|
| French press | Coarse (like rock salt) |
| Cold brew | Coarse |
| Drip | Medium (like kosher salt) |
| Pour-over | Medium |
| Espresso | Fine (like table salt) |
Coffee grind size and taste
If you’re not getting the taste you prefer—or if you just want to experiment with your coffee grind—try adjusting in one of two ways.
- Your coffee tastes bitter or sour: it may be ground too fine (over-extracted), so try a larger, coarser grind.
- Your coffee tastes flat or watery: it may be ground too coarse (under-extracted), so try a smaller, finer grind.
How to make pour-over coffee
Making pour-over coffee requires care and precision—but the reward is in the cup. To start, there are three consistent elements of how to make pour-over coffee you’ll love:
Sippable Fact
For pour-over coffee, here are the quick numbers you need to know:
- Coffee-to-water ratio: 1 gram of coffee to 13-16 grams of water (1:13 to 1:16)
- Brewing temperature: 93 ± 3°C
- Brewing time: 2–4 minutes of contact between coffee and water
Step-by-step guide: How to make pour-over coffee
Here are the general steps for how to make pour-over coffee—as well as a couple of advanced techniques to try.
- Heat your water to the recommended 93 ± 3°C (or your preferred temperature).
- Place your filter in your pour-over brewer and rinse it with hot water, then discard the rinse water.
- Let your boiled water rest for about a minute before using it to brew.
- Pour your chosen amount of coffee into the filter. This is your coffee “bed,” and if needed, give it a light shake or tap to make the coffee level.
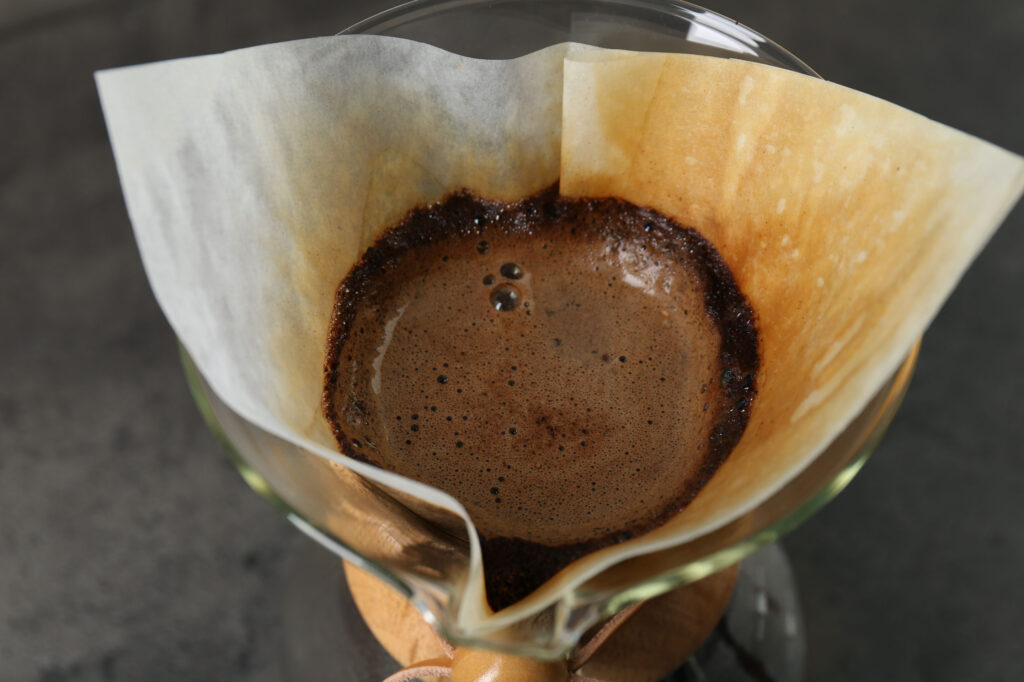
- Pour a small amount of water—double the amount of coffee, so if you have 15 grams of coffee, pour 30 grams of water—on the coffee to let it “bloom.” You’ll see the water bubble up quickly as carbon dioxide escapes. With those gases gone, you’ll be able to saturate the coffee bed more evenly.
- After about 30–45 seconds, once the coffee grounds have stopped bubbling, slowly pour the rest of your water onto the coffee, in a slow, steady, continuous pour, starting in the middle and spiraling outward. In total, the water should have about 2–4 minutes of contact with the coffee. Set a timer if that helps!
- Remove your brewer and/or pour your fresh coffee into a cup, wait to cool to your ideal drinking temperature, and enjoy! (When discarding your filter, you don’t have to throw your used coffee grounds away—you can recycle them.)
Pulse pouring and agitation
Once you feel comfortable with the continuous pour in step 6, you can try pulse pouring and agitation.
- Pulse pouring: In this technique, you’ll use multiple pours of water rather than one continuous pour. The goal is to prevent channeling, where the grounds get trapped on the side of the filter, as well as to gently move the grinds and give them more contact with the water. You can experiment with how many pours and the amounts of water to see what works best for you.
- Agitation: This technique is another way to keep the grounds moving by stirring or swirling the brewer, helping to break up clumps and saturate the coffee bed more evenly. If channeling has occurred, agitating can rinse any stray grounds back into the bed.
How to clean up after making pour-over coffee
It’s important to clean your equipment and tools after each use, following the instructions specific to your brewer.
You should wash your pour-over coffee brewer with hot, soapy water after each use, along with your coffee mug or carafe, so no grounds can collect and there’s no build-up of coffee oil (caffeol), which can make your next cup taste bitter. Future you will be grateful!
Feel like you’re pouring an expert cup of coffee? Try your hand at other coffee brewing methods like drip, espresso, French press, and cold brew.
Safety should always be a top priority when preparing, serving, or drinking any hot beverage—please take all necessary precautions! Be sure to follow all the specific instructions for use, cleaning, storage and maintenance provided with your brewing equipment and tools (including but not limited to brewing machines and devices, grinders, kettles, scales and filters). Be mindful of how hot liquids and equipment may get during the brewing process, and if you grind your coffee, be particularly careful with the sharp blades.

